How to Change Lawn Mower Hydro Belts
5/15/2019 5:00:00 AM
Check your transaxle belts often and replace as necessary
What's a transaxle belt?
Transaxle drive belts, hydro belts, transmission belts, hydrostatic belts, and pump belts are varying terminology for the same belt that powers the transaxles of a zero turn lawn mower. Without getting too far into the technical weeds, transaxles are the motors that operate the drive wheels of a zero turn lawn mower. When the steering levers are pushed forward on a zero turn lawn mower, the shafts on the transaxles turn the wheels forward. It's as simple as that.
The Hydro-Gear® transaxles on an Ariens® zero turn lawn mower are not directly driven by the lawn mower engine itself, but by a belt. The transaxle drive belt is routed through an engine pulley, idler pulleys and the pulleys on the top of the transaxles. When the engine is running, the belt is turned by the engine pulley and the belt then turns the transaxle pulleys, supplying power to the transaxles and allowing them to drive the wheels when the steering levers are moved by the operator.
What happens when a transaxle belt breaks?
Belt wear is unavoidable. Depending on the frequency and degree of use, belts eventually wear out until they're pushed to the point where they break. When a transaxle drive belt breaks, the drive wheels of the lawn mower stop turning, leaving the lawnmower stranded wherever it sits, even if it's in the middle of your yard.
Imagine this scenario: You're nearly finished with your lawn and have just a few rows left to cut. You're deep in the back 40 enjoying the sunshine of a perfect day. You're looking forward to spending the rest of your weekend with the family and a few friends you're hosting for a backyard cookout in just a few hours, when suddenly and unexpectedly, the transaxle drive belt on your mower breaks. The signs of wear were there, but you didn't remember to check the belt before cutting, and consequently, you're now stranded with a mower that needs to either be towed from your yard or repaired in your yard. Your sense of calm has quickly turned into frustration, rage and disdain for the lawn mower manufacturer (that's us).
Don't let this happen to you. Check your belt regularly for these signs of wear:
1. The belt has sidewall damage
Mower belt edges should be smooth and even throughout the entire length of the belt. If even a small portion of the belt is worn, it's at risk of breaking and should be replaced.
2. The belt has a glazed or burned sidewall.
Look at the belt edge that contacts the pulleys. If it appears shiny, glazed or burned, it will need to be replaced.
3. The belt is cracked.
If the belt appears brittle and is deteriorating to the point that it has cracks, even shallow cracks, it's at high risk of breaking and needs to be replaced.
How to replace a hydro belt
If it's been a while on the same hydro belt or your belt is showing signs of wear, replace it. There's no way getting around the need for this belt to be replaced, so we recommend either learning how to replace the belt yourself or scheduling the service to be completed by a nearby Ariens dealer. If you prefer to do it yourself, follow our easy-to-understand instructions and pictures below.
If you're doing the work yourself, park the unit on a flat, level surface, stop the engine, remove the key and wait for all moving parts to stop and for hot parts to cool before starting service. Additionally, reread all the safety information in the operator's manual for your unit and follow along with the procedure as outlined in the manual.
Hydro belt removal:
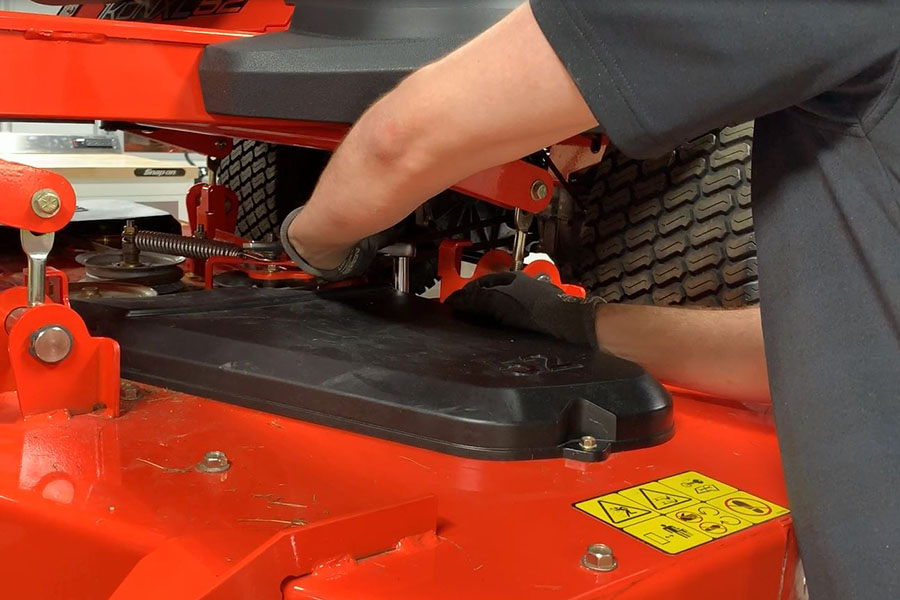
1. Remove the left belt cover from the deck and gently pull the PTO belt out of the left spindle pulley.
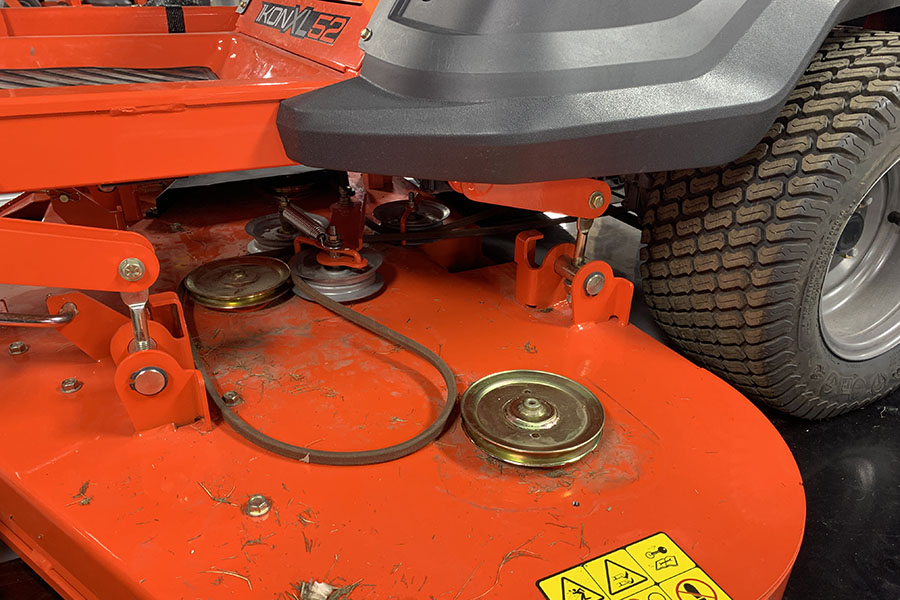
2. Disengage the PTO belt from the clutch.
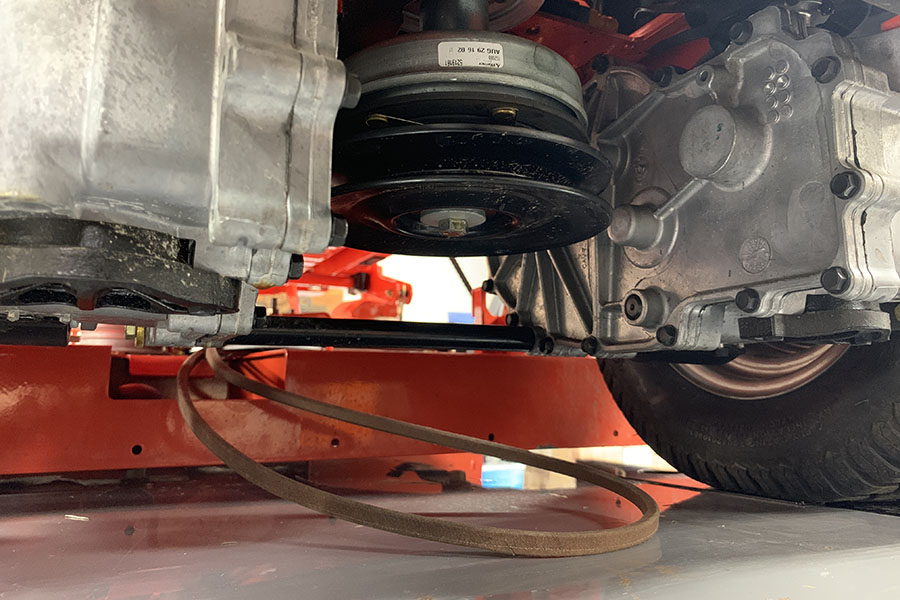
3. With a pliers, hold the hooked end of the tensioner bolt located under the gas tank while loosening the nut on the other end of the bolt. Loosen the nut as much as possible without removing the nut from the bolt.
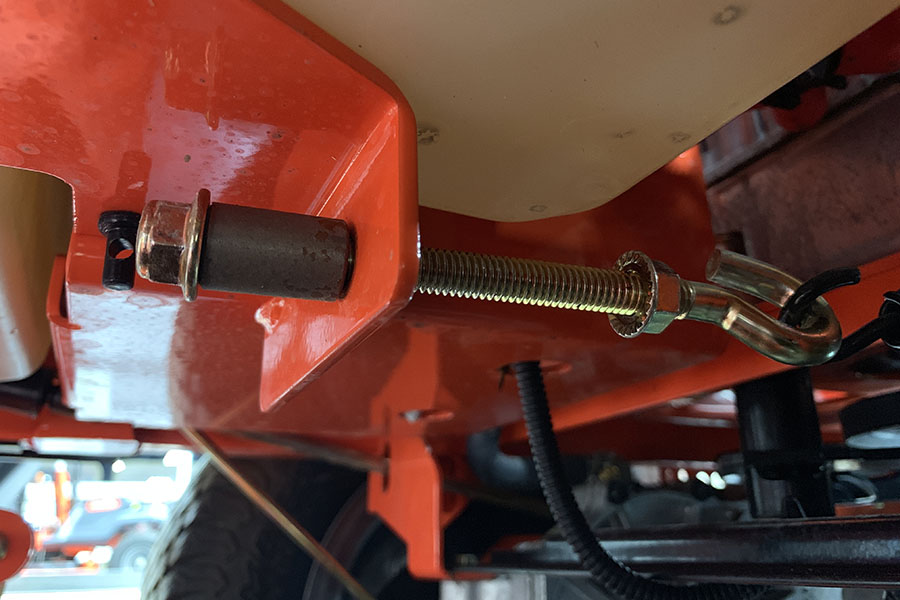
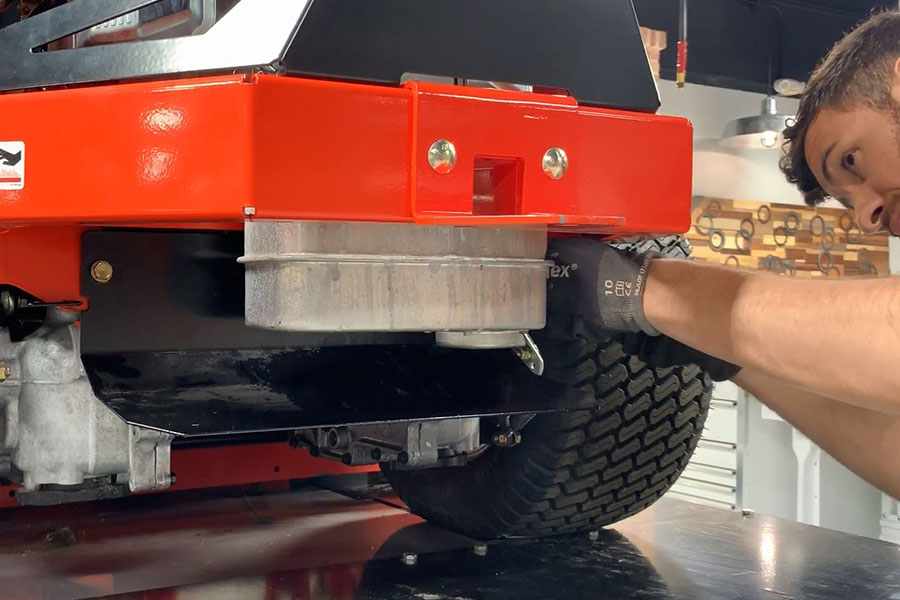
4. Remove the heat shield from the rear of the mower.
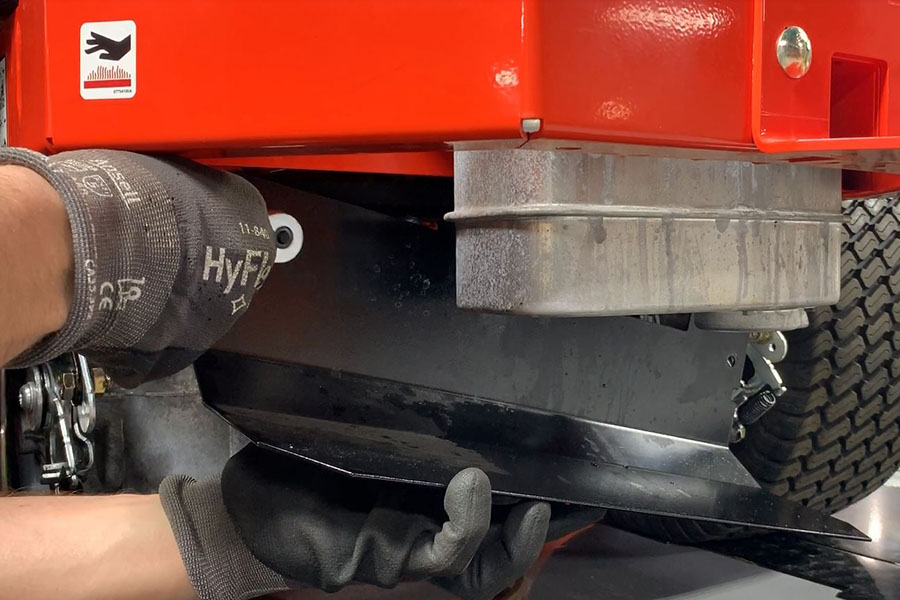
5. Remove the two self-tapping screws securing the clutch stop bracket to the transaxle brace above it and remove the clutch stop bracket from the clutch stop.
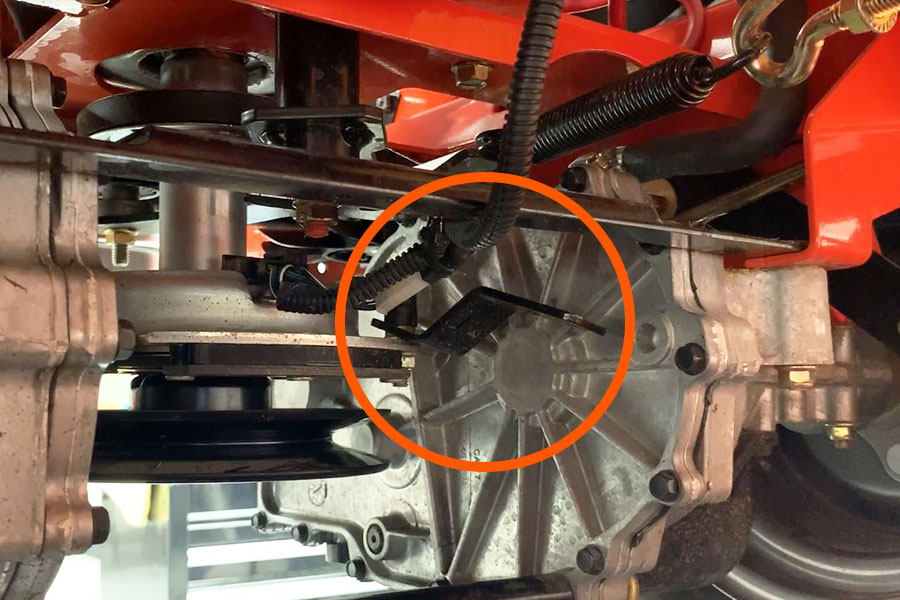
6. With a small flathead screwdriver, gently pry the wire harness clasp away from the wire harness port on the clutch and disconnect the wire harness from the clutch.
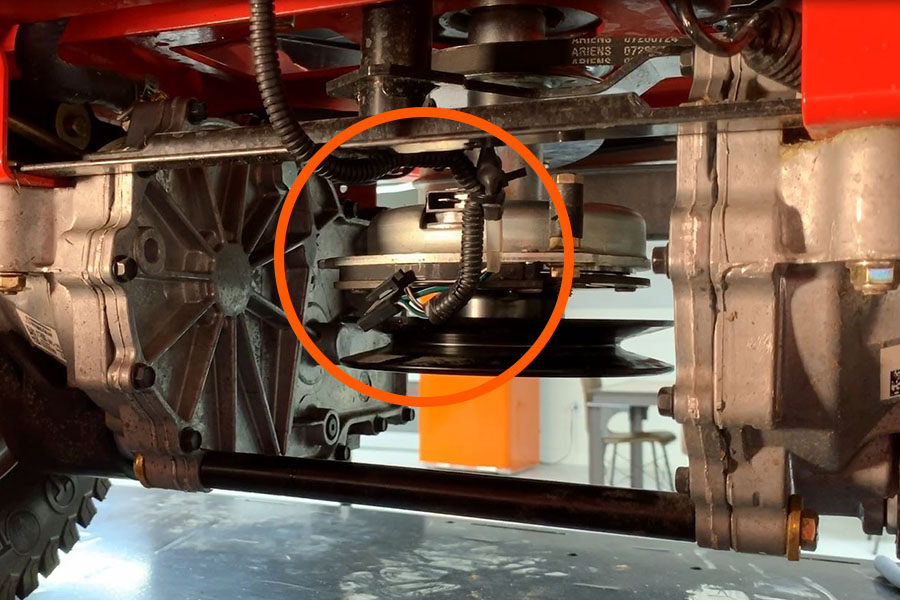
7. For your reference, take a picture of the transaxle drive belt routing.
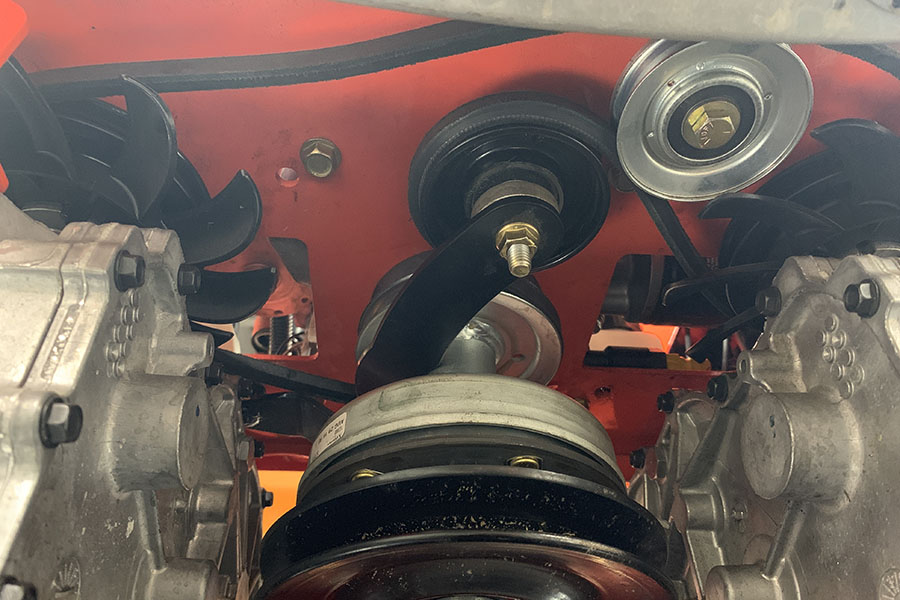
8. Remove the transaxle drive belt from all pulleys and remove from the unit.
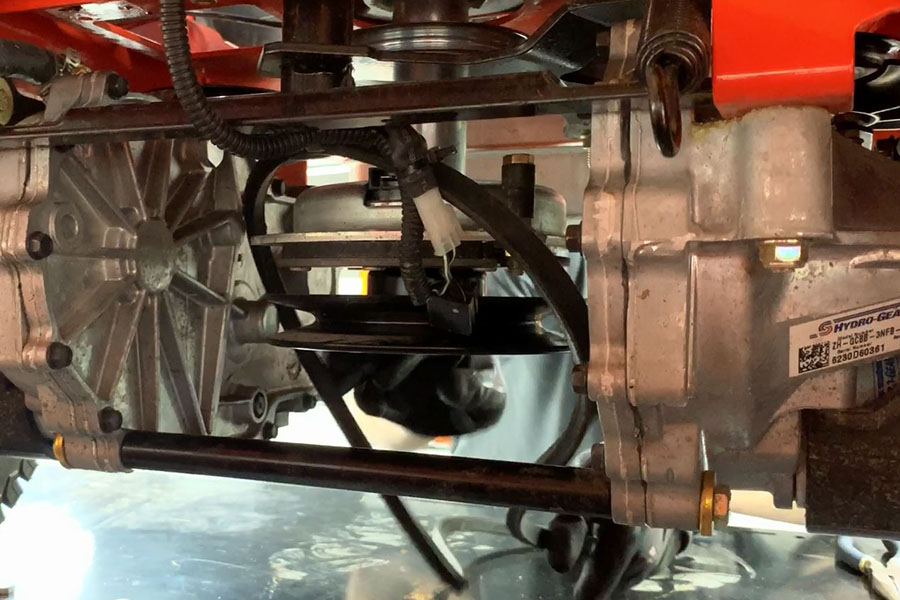
Hydro belt installation:
1. Install the transaxle drive belt and route around the engine pulley, transaxle pulleys and idler pulleys as shown in the belt routing diagram in the operator's manual.
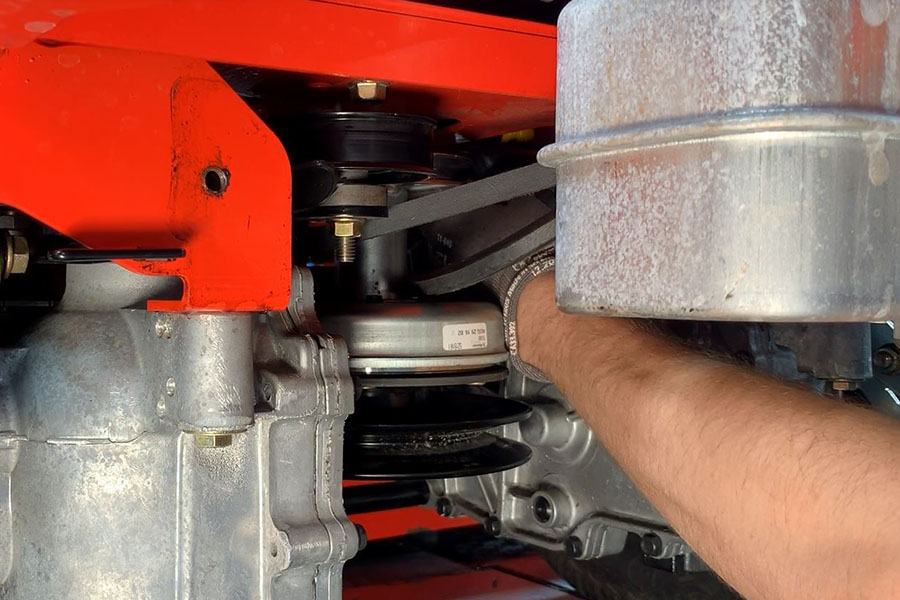
2. Reinstall the clutch stop bracket onto the clutch stop and secure to the transaxle brace. For best results, secure the bracket to the brace from behind the unit with your fingers. Tighten as much as finger tightening allows, then use a socket wrench to secure.
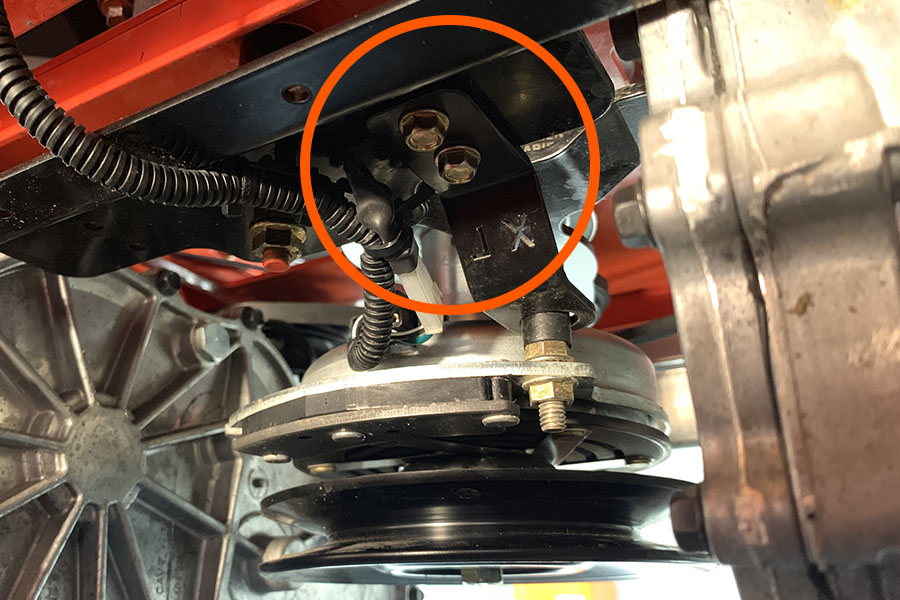
3. Reconnect the wire harness to the clutch.
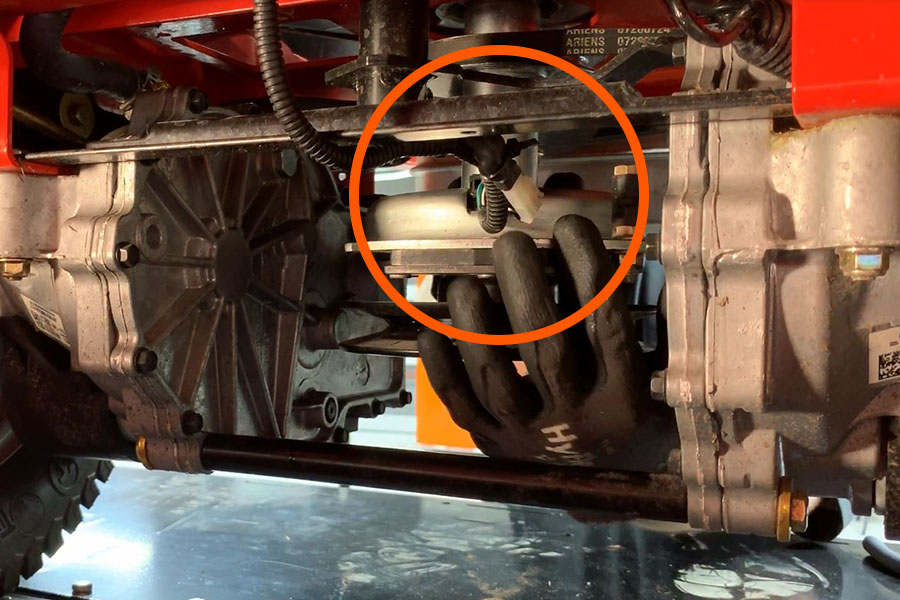
4. Ensure the idler spring is still hooked around the tensioner bolt.
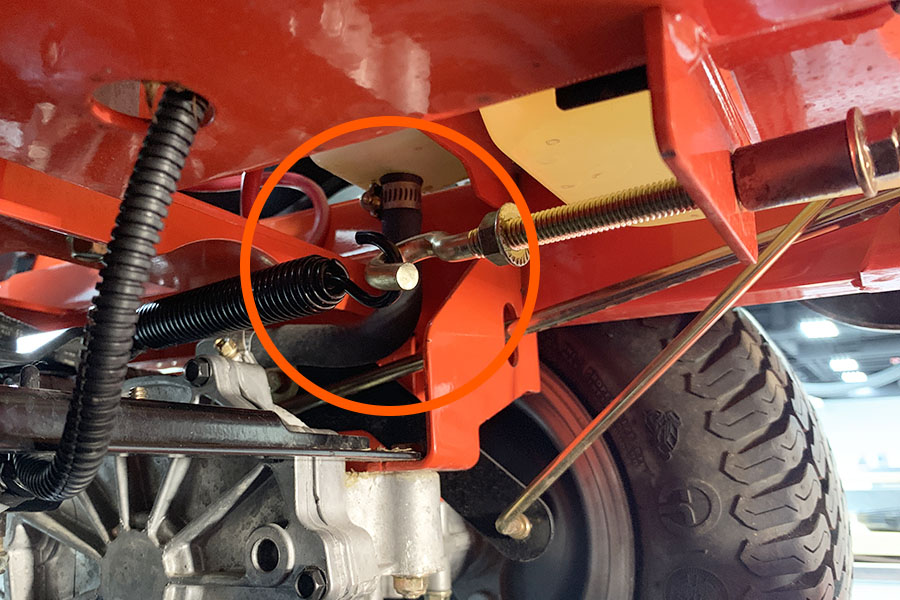
5. With a pliers, hold the hooked end of the tensioner bolt while tightening the nut on the other end of the bolt. Tighten the nut completely.
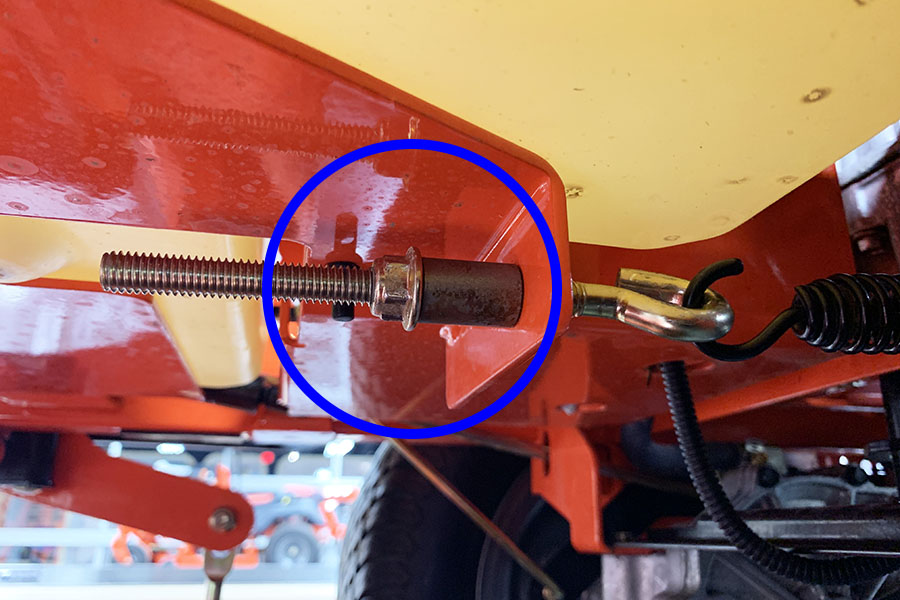
6. Ensure the transaxle drive belt has tension and is aligned in all pulleys.
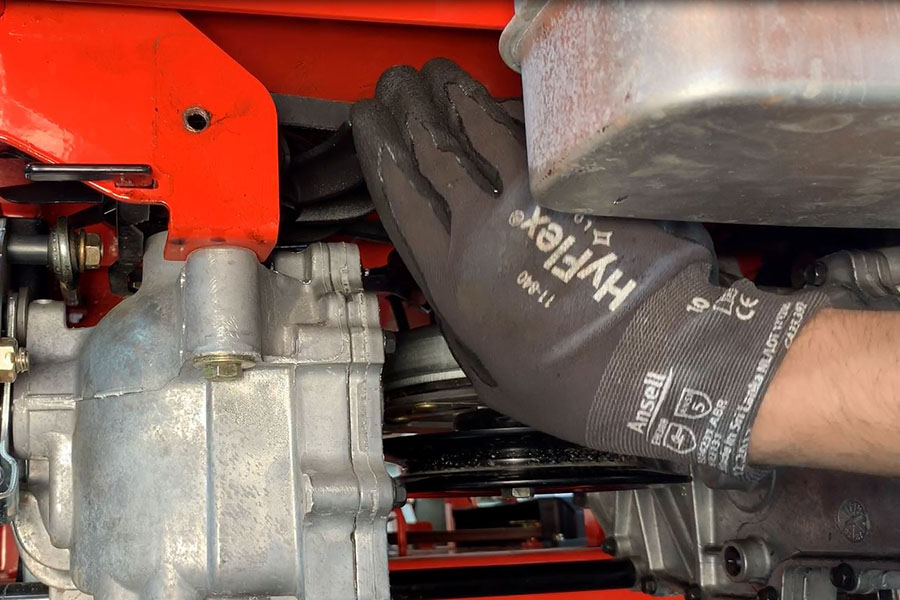
7. Gently pull the PTO belt into the left spindle pulley.
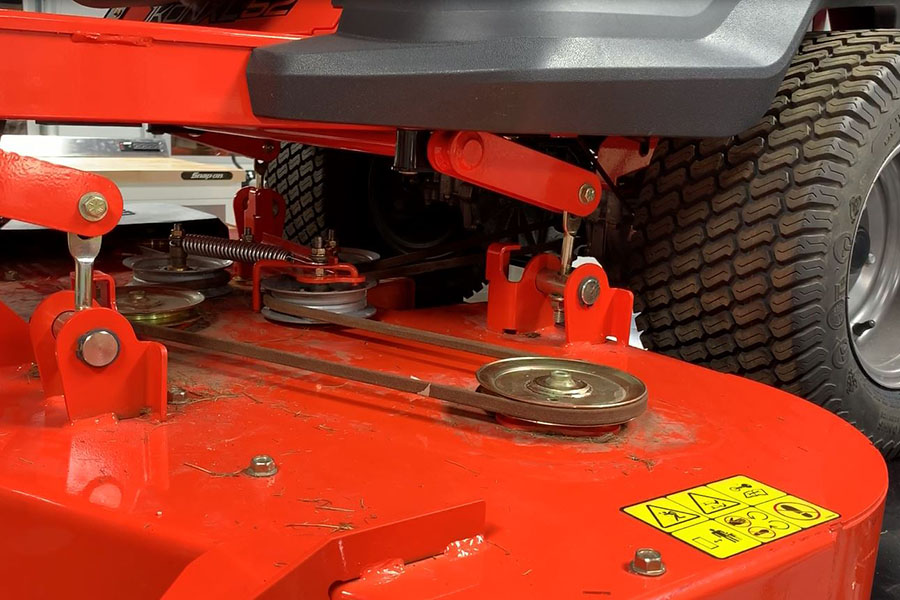
8. Reinstall the PTO belt into the clutch pulley.
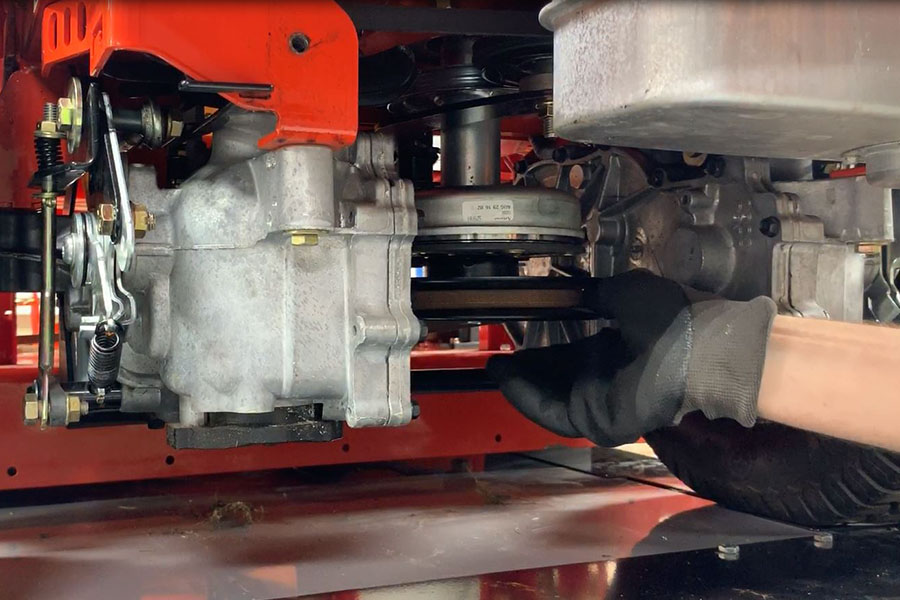
9. Ensure the PTO belt has tension and is aligned in all pulleys.
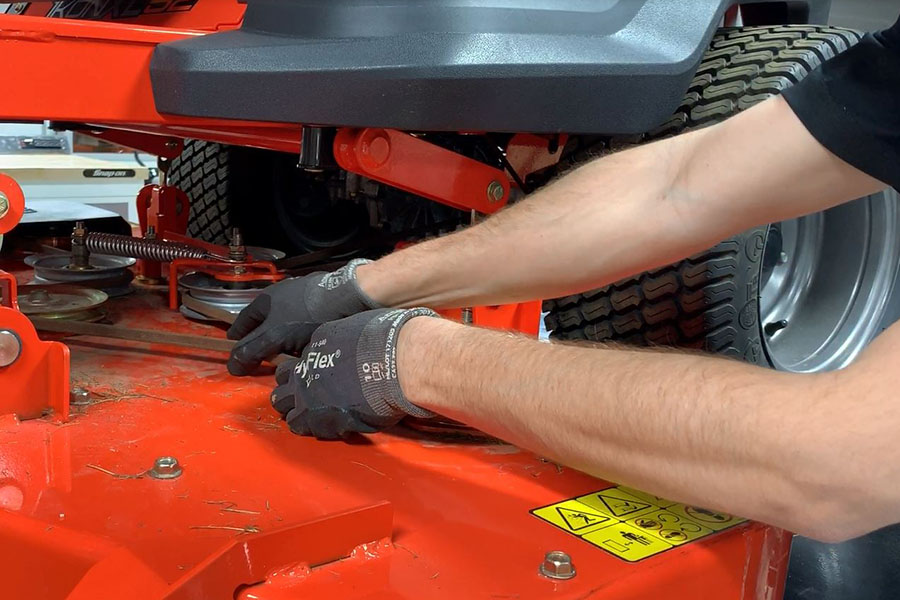
10. Reinstall the belt cover to the deck.
11. Reinstall the heat shield.
To find replacement transaxle drive belts for your mower, visit your nearest Ariens dealer or find them at parts.ariens.com.