
How to Tell if a Mower Belt is Worn
4/9/2019 5:00:00 AM
And how to replace lawn mower belts
What does a lawn mower belt do?
Lawn mower blades on a zero turn lawn mower aren't driven directly by a PTO (power take off) shaft or by an engine crankshaft. Instead, they're turned by a system of pulleys which are driven by a belt that's powered by the electric clutch and the engine. Too much technical information? That's ok, you don't necessarily need to know all of that, but what you do need to know is that lawn mower belts wear, and if neglected, eventually break.
When to replace lawn mower belt?
Obviously, a broken zero turn lawn mower belt or broken lawn tractor belt results in the automatic need for a belt replacement, but how can you catch it before it fails while mowing and inconveniencing your weekend schedule? There's no definite amount of time that a mower belt is supposed to last, but increased mower use shortens the interval in which a belt needs replacement. Simply put, more use equals more wear.
Additionally, faulty belts or mechanical failures like a seized pulley can make lawn mower belts break prematurely. If you're wearing through belts more frequently than what seems normal, you may be sourcing inferior belts, or are experiencing a mechanical failure in the form of a seized pulley, a burr (sharp metallic rough spot) on the pulley, or some other interference along the path of the belt routing.
How to tell if a mower belt needs replacement
Visual inspection is all it takes to know if a mower belt is beyond its life, and it doesn't take a rocket scientist or experienced mechanic to see the signs of wear that appear before an impending break. The average homeowner will be able to spot a wearing belt as long as they know what to look for.
These signs show when a mower belt could experience failure and needs replacement as soon as possible:
1. The belt has side wall damage.
Mower belt edges should be smooth and even throughout the entire length of the belt. If even a small portion of the belt is worn, it's at risk of breaking and should be replaced.
2. The belt has a glazed or burned sidewall.
Look at the belt edge that contacts the pulleys. If it appears shiny, glazed or burned, it will need to be replaced.
3. The belt is cracked.
If the belt appears brittle and is deteriorating to the point that it has cracks, even shallow cracks, it is at high risk of breaking and needs to be replaced.
How to replace a lawn mower belt
Replacing a mower belt is easy and doesn't take too much time, even for those who don't have much, if any, mechanical experience. All it takes are a few wrenches, and about 1.5 hours on a Saturday morning. Alternatively, if it's a process you're uncomfortable doing yourself, your local Ariens dealer will be glad to complete the service work for you.
Watch the step-by-step process on how to change a lawn mower belt on an Ariens IKON X or IKON XL of any deck size. As always, before you start service, park the unit on a flat, level surface, stop the engine, remove the key and wait for all moving parts to stop and for hot parts to cool. Additionally, reread all the safety information in the operator's manual for your unit.
1. Set the cutting height of the mower to its lowest position.
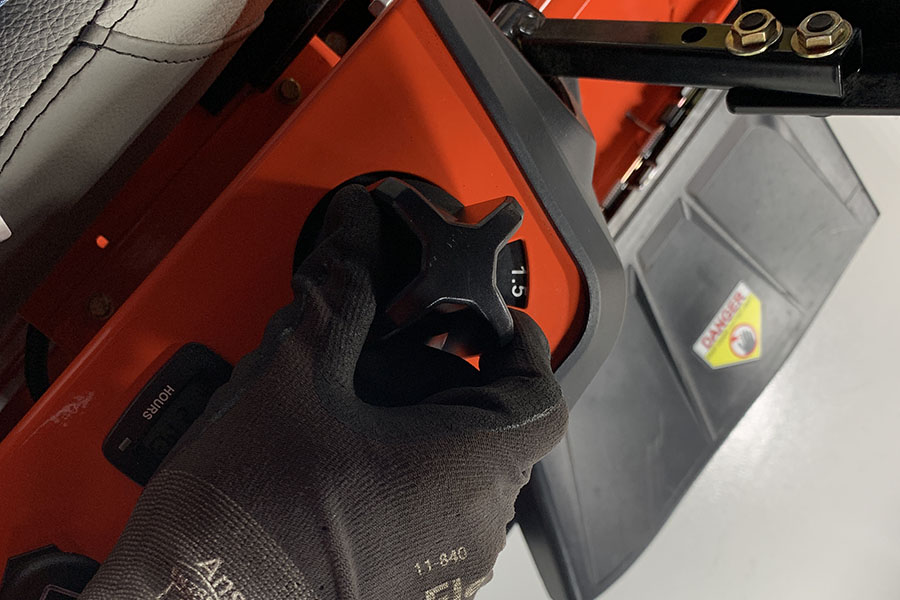
2. Remove the belt covers from the left and right sides of the mower deck.
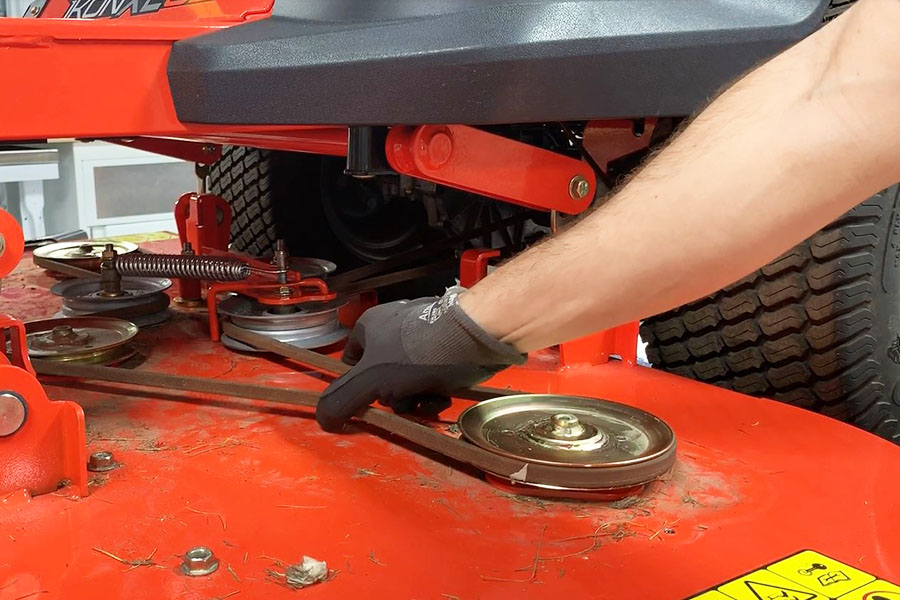
3. Pull belt out of the left spindle pulley to release belt tension on the mower belt idler spring.
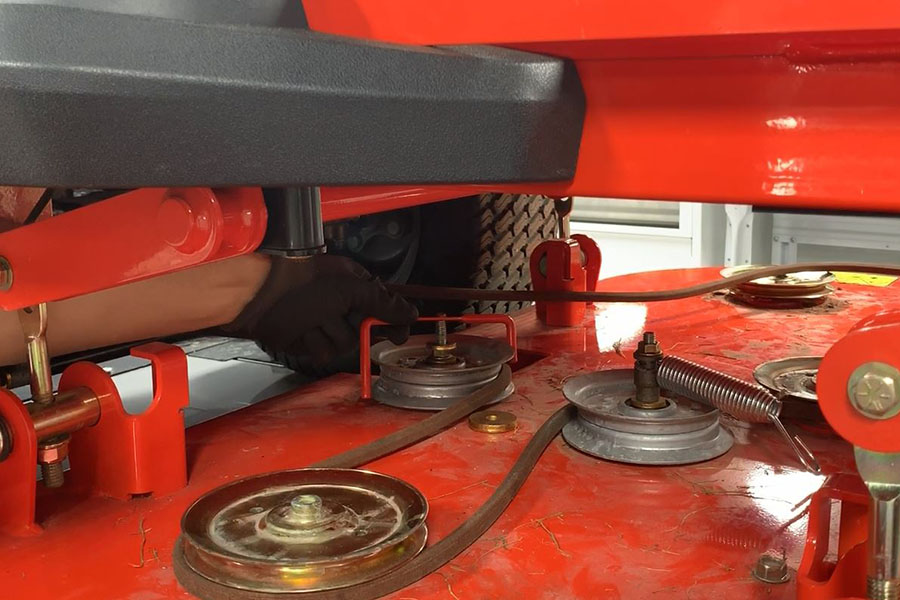
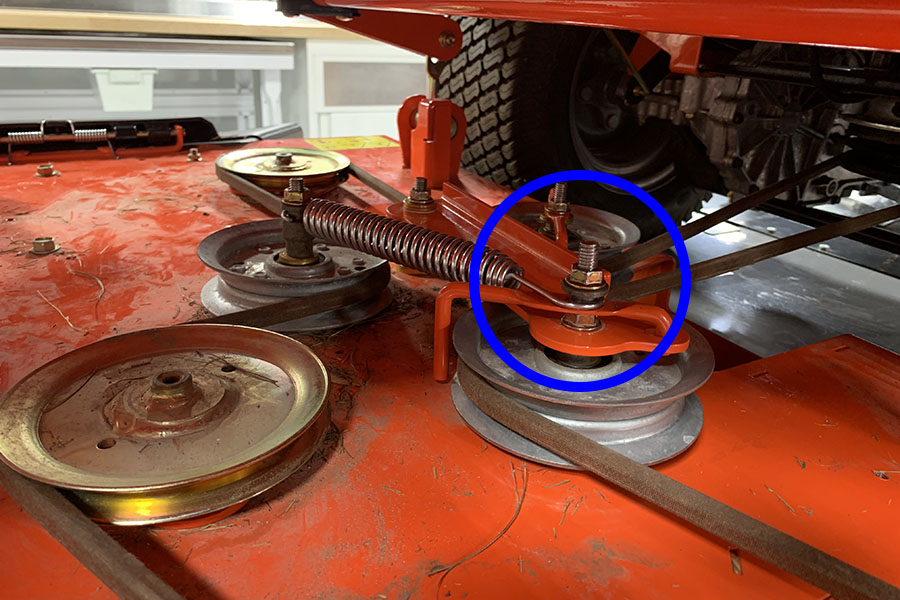
4. Identify the mower belt idler arm and remove the hardware above the belt finger / guide the so the idler spring hook can be accessed.
5. With safety goggles and an adequate spring pulling tool, remove the spring from the idler arm assembly.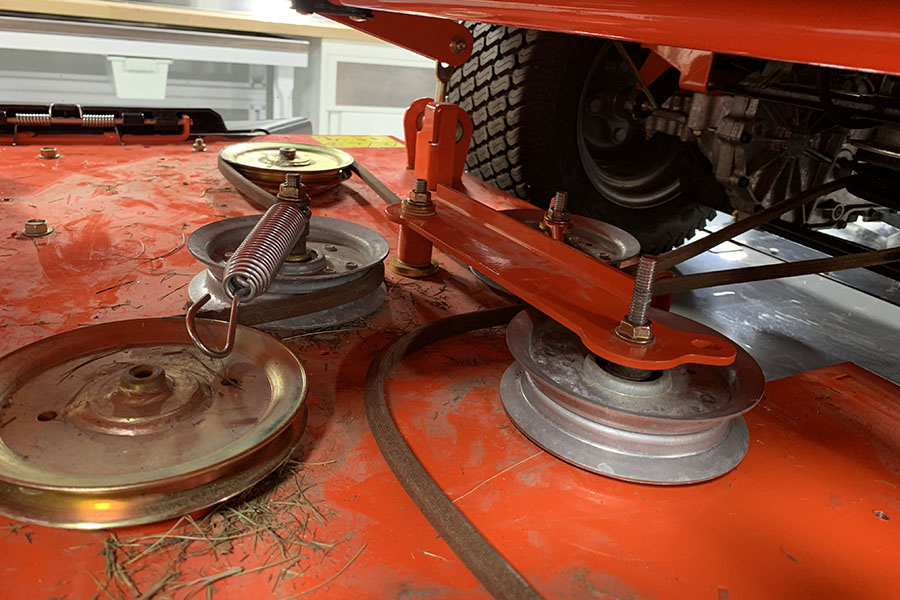
6. Raise the mower deck to it's highest cutting position.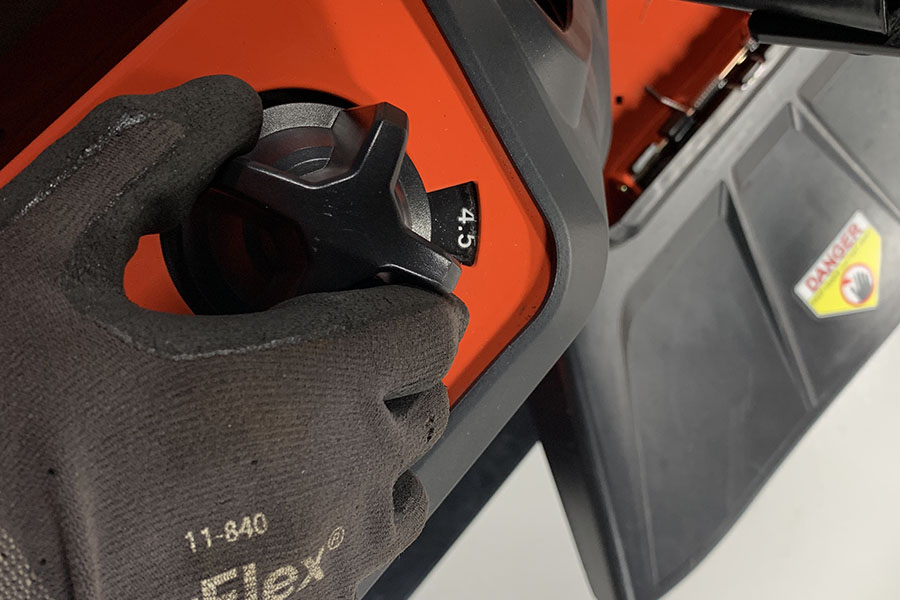
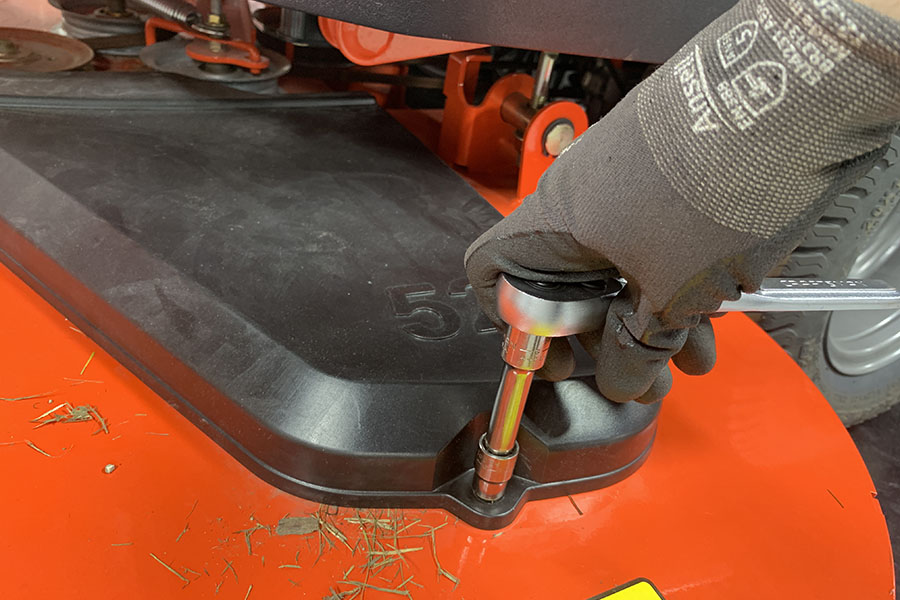
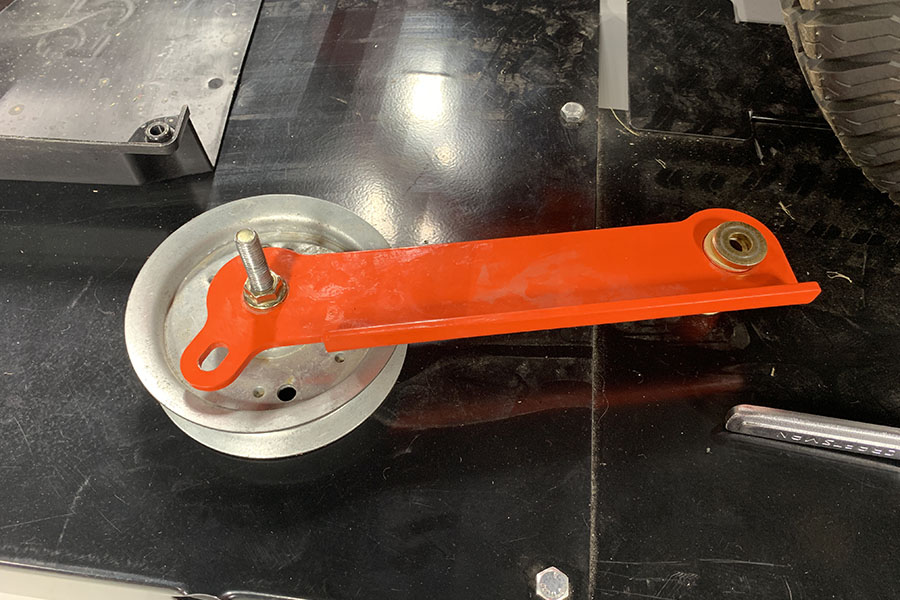
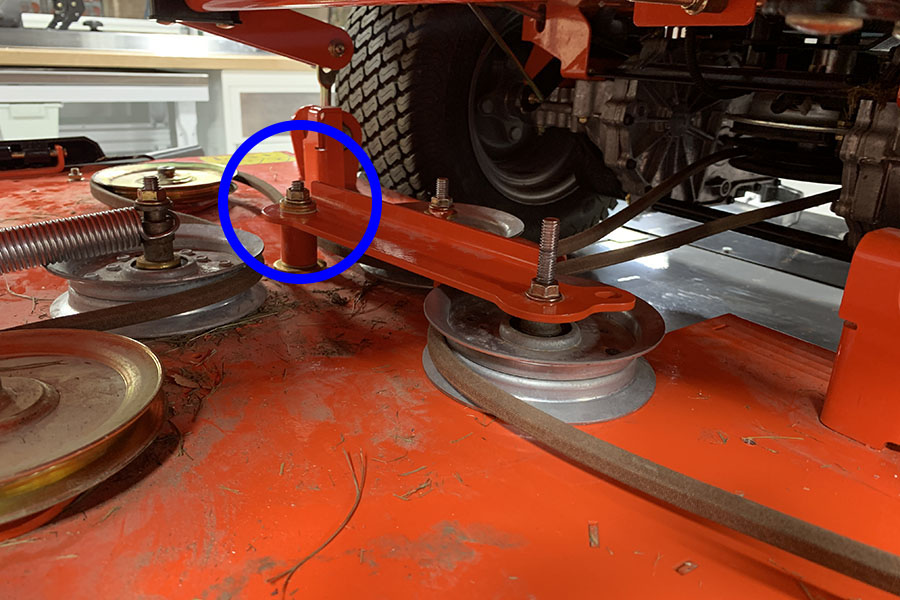
7. Loosen the hardware retaining the idler assembly to the mower deck and remove the idler assembly. To remove the nut from the bolt, the bolt head under the deck will need to be held in place with another tool. Use caution when reaching under the mower deck.
8. Return the mower deck to its lowest cutting position.

9. Remove hardware retaining the belt finger from rearmost idler pulley and remove the belt finger.
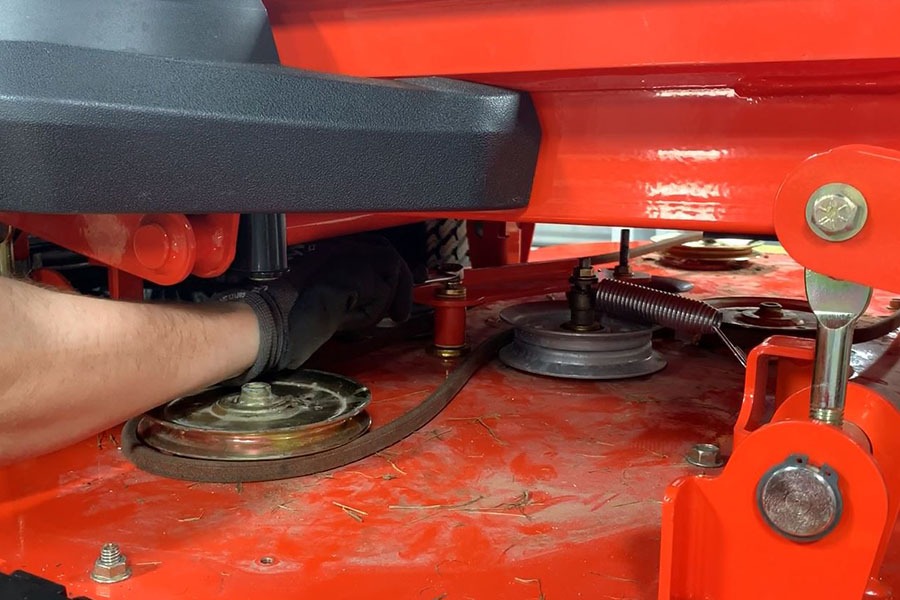
10. Remove the belt from the clutch pulley located under the engine.

11. Remove the belt.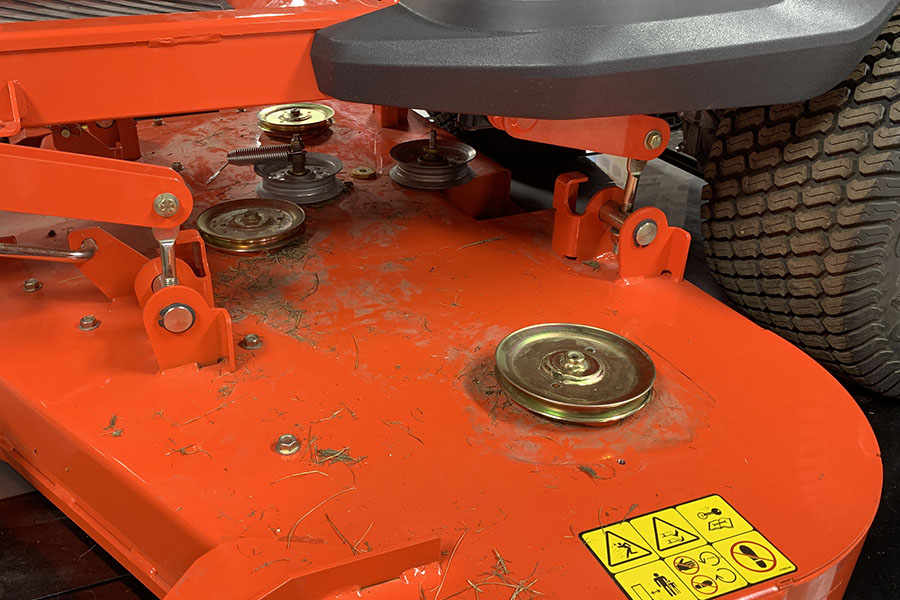
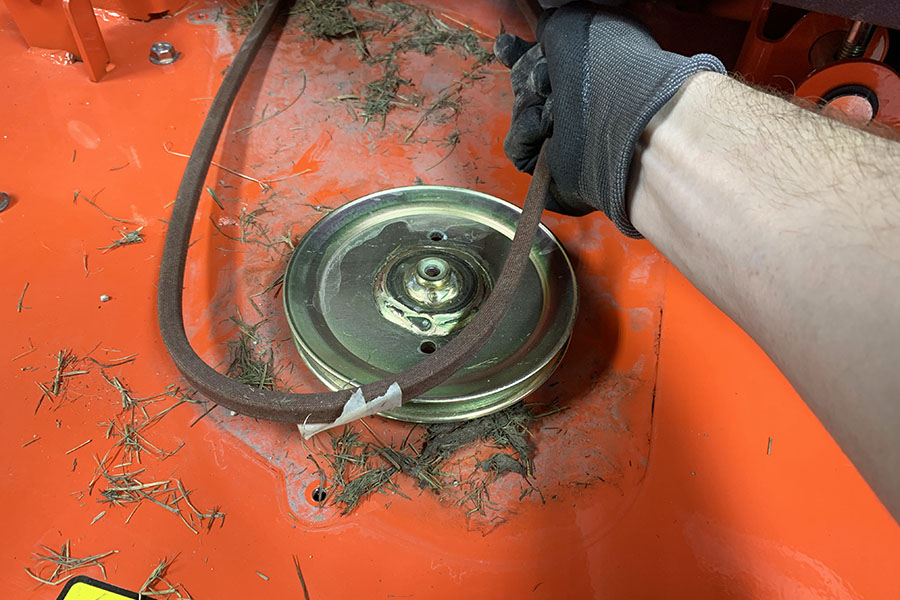
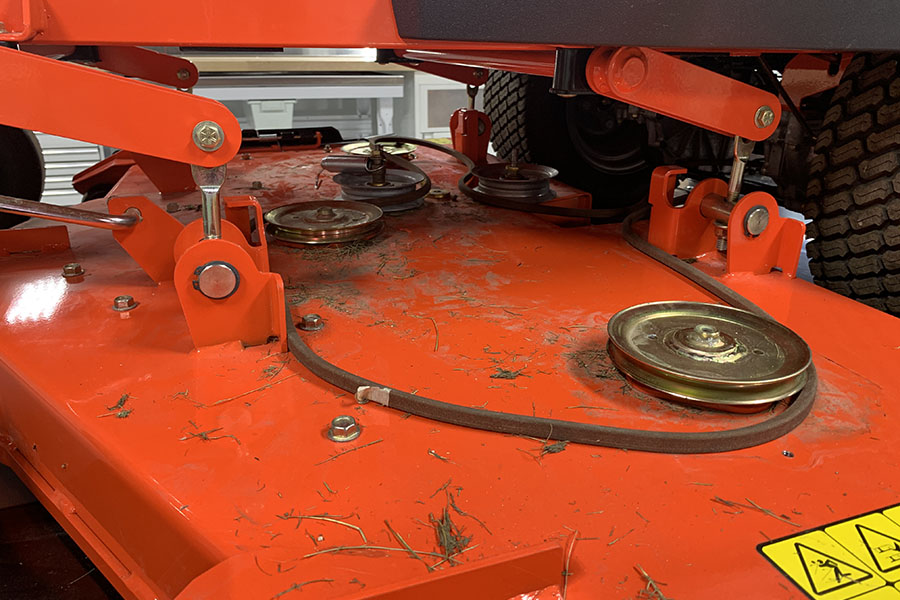
12. Install the new mower belt around the spindle pulleys and the idlers on the mower deck. It's difficult to tell how the mower belt is routed in the picture below, so reference the diagram in the operator's manual for your unit to see exactly how the belt should be routed.
Additionally, it's crucial the belt is installed in the correct orientation. Looking closely at the belt, you can see that the belt has a "V" shape, which gives one side of the belt less surface area than the other side of the belt. It's very important to install the belt so the side with less surface area is positioned against the spindle pulleys.
13. Ensure the belt is against the rearmost idler pulley and reinstall the belt finger for that pulley with its original flange nut.

14. Install the mower belt around the clutch pulley at the rear of the unit.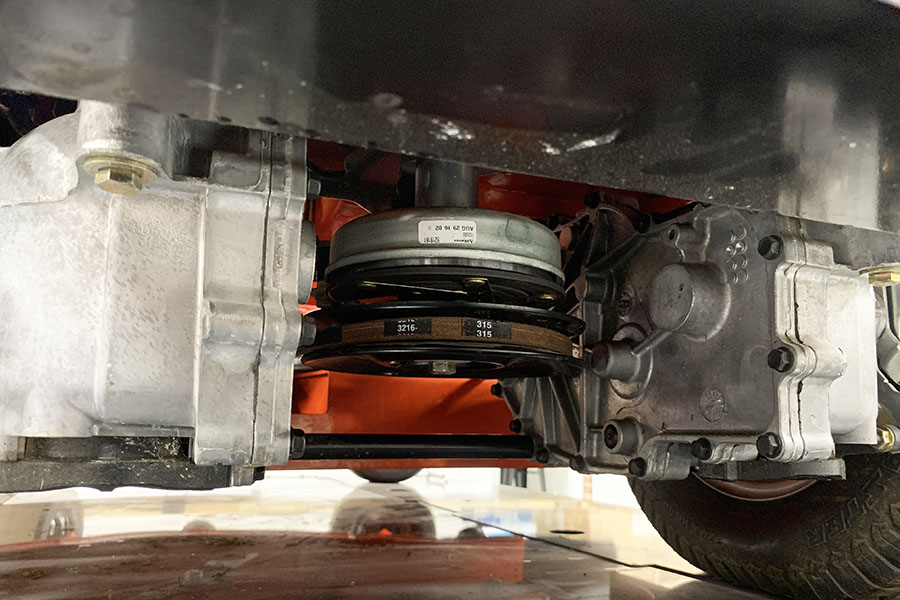
15. Return the idler assembly to its original position. Ensure the large flat steel washer is positioned between the idler and the deck, and ensure the small flat steel washer is positioned on top of the idler.
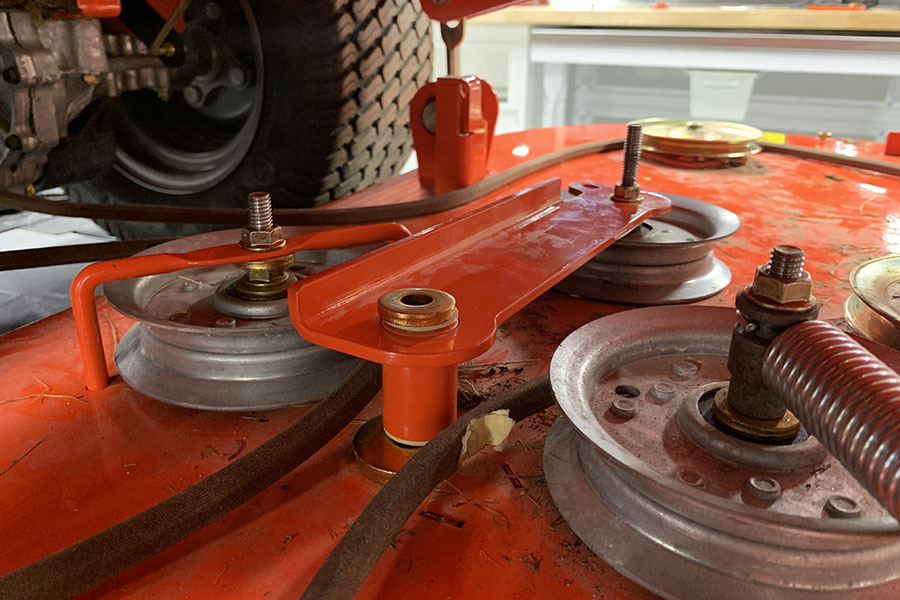
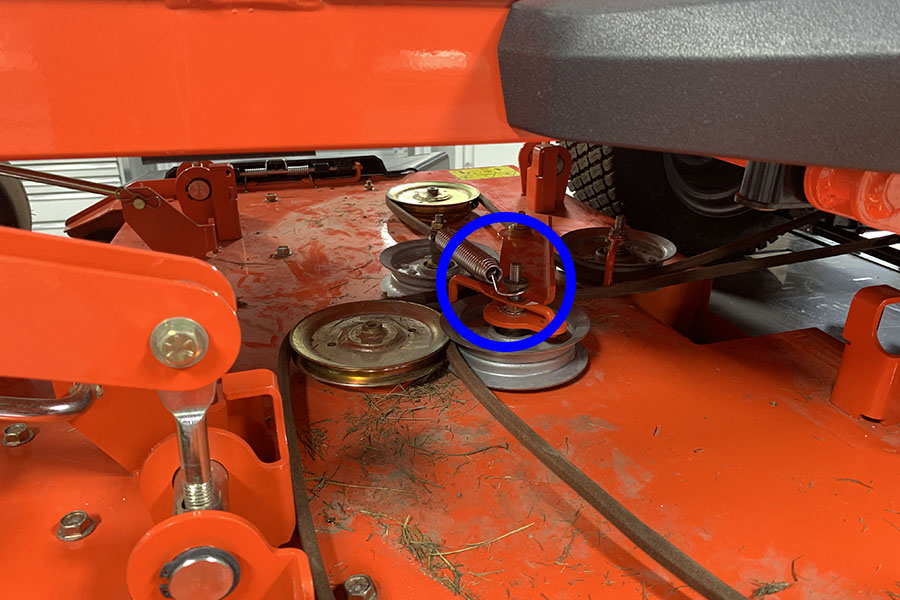
16. Raise the mower deck to it's higest position and reinstall the idler assembly hardware, but finger tighten only. DO NOT completely tighten the hardware. Then, move the belt under the idler pulley so it's in the orientation shown in the image below.

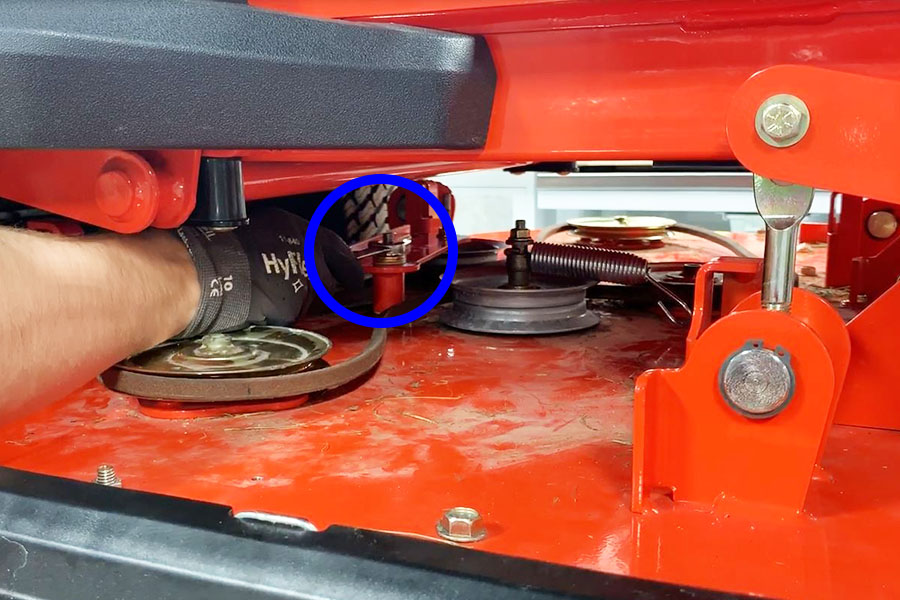
17. Safely reach under the deck to access the idler arm assembly bolt head. Hold the bolt head in place and tighten the nut to secure the idler arm assembly.
18. Lower the mower deck to its lowest cutting height.

19. Reinstall the belt finger into the idler arm. Then, while wearing safety goggles, reinstall the idler spring hook around the idler assembly.
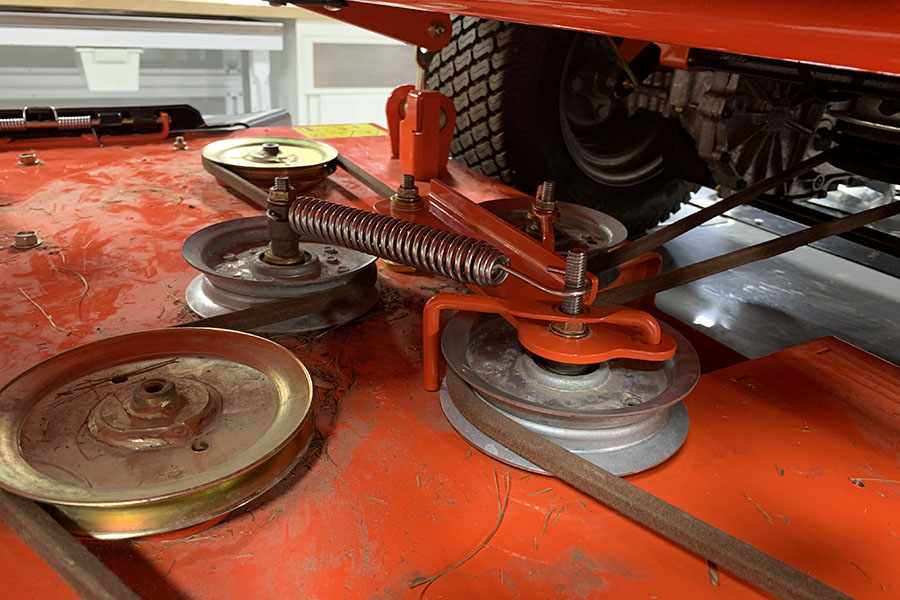
20. Ensure the belt has tension and is correctly aligned in all pulleys.
21. Reinstall the spacer onto the idler assembly and secure with the original flange nut.
22. Reinstall the left and right belt covers with the original hardware.
Where to order lawn mower belts
If your belts are worn and want to try this procedure on your own, visit your nearest Ariens dealer for replacement parts, or source belts from the Ariens online parts store at parts.ariens.com. But again, if you aren't comfortable completing this procedure on your own, visit your Ariens servicing dealer for help.
To learn which belts you need for your mower, click here to watch our 47-second video that shows how to identify replacement part numbers on your unit and how to find them online.